Monday, February 1, 2016

The Blessings.


Teaching little ones the Word of God is a blessing.

Bringing meals to families struck by illness or loss is edifying to the family of God.

Providing rides to church for those who need them serves the body of Christ.

Praying with the brokenhearted is a mighty act.

Sending a card to a friend who is struggling strengthens the body of Christ.

Motherhood is a blessing.

Faithfully praying for your brothers and sisters in Christ is valuable ministry.

Staying home and creating a peaceful garden in the middle of the jungle of the world where our husbands and children can thrive is a blessing.


Ladies, don't let those who feel that serving the church in these ways is somehow less valuable than those who lead large ministries discourage you. Those who have large teaching ministries are not more valuable than those who faithfully home school their own children, or lead VBS, or teach children's Sunday School.

Your ministry to your family and your church, no matter how small it may seem, is a big thing in God's economy and the rewards are eternal.

Take heart dear friends, your contributions to the family of God through your diligent work as wives, mothers and as a sister in Christ matter and may be more valuable than you know. You don't need a large ministry to be a "good steward of the manifold grace of God."
1Peter 4:8-11:
 Above all, keep fervent in your love for one another, because love covers a multitude of sins.
9 Be hospitable to one another without complaint.
10 As each one has received a special gift, employ it in serving one another as good stewards of the manifold grace of God.
11 Whoever  speaks, is to do so as one who is speaking the utterances of God; whoever  serves is to do so as one who is serving by the strength which God supplies; so that in all things God may be glorified through Jesus Christ, to whom belongs the glory and dominion forever and ever. Amen.


Gluten Free Ginger Ale Bread


I was trying to come up with a tasty gluten free bread similar to beer bread, and came up with this today. It is easy to make, gluten free, moist, and not a bit crumbly.

3 Cups ATK GF flour blend*

¼ cup sugar

1 Tbsp baking powder

1 tsp salt

¼ tsp xantham gum

3 Tbsp melted vegan butter (use real butter if you don’t need it to be dairy free)

1 can Ginger Ale

Preheat oven to 375.
Stir together dry ingredients first. Add ginger ale and butter, stir until evenly combined. Pour into a greased loaf pan – stoneware is best of you have it.

Bake for 45-55 minutes, or until a toothpick inserted in the middle comes out clean. It will be slightly browned and cracked on top, but will not brown as well as bread made with wheat flour.

*I have found that ATK GF flour blend is the best 1:1 substitute for baking. You have to buy the individual ingredients and mix your own batch, but it is worth it. I use soy milk powder instead of milk powder because ours has to be dairy free. I usually make a double batch and just store it in a gallon size freezer bag in the freezer.
 Here is the link for the recipe:
https://www.cooksillustrated.com/recipes/7854-americas-test-kitchen-gluten-free-flour-blend


You could use a different GF flour blend, and I’m sure Sprite or Seven Up would make great bread too. Do not use beer. Beer contains gluten. Yes...you would be surprised how many people do not know that.


Wednesday, January 28, 2015

This Week in Stitches 1.28.15

So....I haven't been knitting much the last couple of weeks. A few pairs of fingerless mitts, and a shawl that I am still working on. But, I did finally get a sewing room set up for my new sewing machine, and have been breaking that in.

We moved last August, and of course a new house needs lots of new curtains. My sewing room curtains are my favorite of the new curtains, but they really look better in person. And yes...the spring green paint has to go. Ick.


I've also been making handbags and totes, testing out the different stitches and just in general having fun. Seeing as it has been a very long time since I have had a working sewing machine, and even then I wasn't that good at it I have learned a lot.

These reversible handbags are a new favorite of mine. You can get the pattern and tutorial here.


(note: The top left has the straps correct. I was playing around with these, but decided I like it the correct way best.)

I also made this cute hobo bag:


The fabric for all of these were great thrift store finds. That bright pink lining in the reversible bags is an old flat sheet that I picked up for $.99. I love projects that can be done with scraps.

Thursday, December 4, 2014

This Week in Stitches Dec 4 2014


I've been breaking in my new sewing machine this week. I made these cute aprons for the boys from leftover fabric. I added a pocket to the front and let them pick an applique to personalize each one. They love them :-)
 

I also finished the skirt for this pillow case. I still have the other pillow case to do, as well as the edging around each.

Friday, August 8, 2014

Leftover Yarn Idea #2 - Easy Crochet Dishcloths

This is a very easy crochet pattern and a great way to use up your leftover cotton yarn.


Using a 5.5 mm hook, chain 20 sts.

Turn, and SC to the end. Chain 1, turn and SC to the end.
Repeat this until your work is square.
 Do a half double crochet border around the dish cloth, followed by a scalloped edge. Half double crochet in every stitch all the way around the dish cloth.
For the scalloped edge, skip 1, 5DC in the next st, skip 2, sc, skip 1, 5DC, and repeat all the way around the dish cloth, chaining 2 at each corner.  Weave in ends.
It works well to use a contrasting color for the border.

This can be done in one afternoon, so it's a quick and easy way to use up your yarn.

a-wise-woman-builds-her-home

Gluten and Dairy Free Apple Spice Cupcakes

Gluten Free Dairy Free Apple Spice Cupcakes

1 1/4cups granulated sugar

1 1/2 cups applesauce*

1/2 cup vegan butter, softened  (I use Earth Balance)

2 eggs

2 1/2 cups GF Bisquick

1 teaspoon ground cinnamon

1 teaspoon baking powder

1/2 teaspoon baking soda

1/2 teaspoon salt

1/4 teaspoon ground nutmeg

Heat oven to 350°F. Line 24 regular-size muffin cups with paper baking cups or grease cups with shortening or cooking spray. In large bowl, beat granulated sugar, applesauce, butter and eggs with electric mixer on medium speed until smooth and creamy, scraping bowl occasionally. On low speed, beat in GF Bisquick, cinnamon, baking powder, baking soda, salt and nutmeg just until well blended, scraping bowl occasionally. Divide batter evenly among muffin cups.

Bake 25 to 35 minutes or until toothpick inserted in center comes out clean. Remove from muffin cups. Cool completely, about 30 minutes.

*If your applesauce is cold warming it will help keep the butter from solidifying when you try to cream it together. If that happens, don't worry your cupcakes will still taste great :-)


DAIRY FREE FROSTING:

1 teaspoon salt
2/3 cup rice milk
2/3 cup Crisco® All-Vegetable Shortening
OR 2/3 stick Crisco® Baking Sticks All-Vegetable Shortening
1 tablespoon vanilla extract
1 (2 lb.) bag powdered sugar, (7 1/2 cups)


1.DISSOLVE salt in milk.

2.PLACE shortening, vanilla and milk mixture in medium bowl. Beat with an electric mixer or flat beater of a stand up mixer while gradually adding powdered sugar on low speed. Once all the powdered sugar is incorporated, stop and scrape bowl with spatula.

3.INCREASE mixer speed; beat until smooth and fluffy, 1 minute or less. If needed, add powdered sugar by the tablespoonful to thicken; or add milk to thin frosting, to achieve desired spreading consistency. Makes 4 cups.

Adapted from: http://www.crisco.com/recipes/details.aspx?RecipeID=2061


Gluten and Dairy Free Oatmeal Cookies

1/2 pound vegan butter (I use Earth Balance)
1 cup firmly packed brown sugar
1/2 cup granulated sugar
2 eggs
1 teaspoon gluten free vanilla
1-1/2 cups Gluten Free Bisquick
1 teaspoon baking soda
1 teaspoon cinnamon
1/2 teaspoon salt
3 cups gluten free oats (uncooked)
1 cup gluten and dairy free chocolate chips ( I use Enjoy Life) or 1 cup raisins

1. Heat oven to 350.
2. In a medium bowl combine Bisquick, baking soda, cinnamon and salt
3. Beat together butter and sugars
4. Add eggs and vanilla, beat well.
5. Add flour mixture and mix well
6. Stir is oats and chocolate chips or raisins
7. Drop by rounded tablespoon full onto ungreased cookie sheet
8. Bake 11-13 minutes or until golden brown around the edges
9. Cool 1 minute on the cookie sheet, remove to wire rack


Wednesday, February 26, 2014

This Month in Stitches 2.26.14

This month I finished this shawl:


Free Ravelry pattern Here.

I've crocheted dozens of dishcloths this month while experimenting with different patterns.


Saturday, January 4, 2014

Gluten-free, Dairy-free, Peanut/Treenut-free Chocolate chip Banana Bread


1/2 cup shortening
1 cup white sugar
1 egg
1 TBSP mayonnaise
3 very ripe bananas, mashed
1 1/2 cups Gluten-free Bisquick
1/4 tsp salt
1/2 tsp baking powder
1/2 tsp baking soda
1/2 cup (or as many as desired) Enjoy Life allergy-free mini chocolate chips

1. Preheat oven to 350. Lightly grease a loaf pan.

2. In a large bowl cream together the shortening and sugar until light and fluffy. Stir in the egg, beating well. Stir in the mayo and bananas.

3. In a separate bowl mix together the Gluten-free Bisquick, salt, baking powder and baking soda.

4. Blend the dry mixture into the banana mixture and stir until evenly combined. Fold in the chocolate chips.


5.Pour into greased loaf pan and loosely cover the edges with foil to keep them from getting hard.


6. Bake at 350 for 30 minutes, remove the foil and continue cooking for another 30-40 minutes (until a toothpick comes out mostly clean). Cool on a wire rack for 20 minutes.


7. Enjoy!

Wednesday, January 1, 2014

This Week in Stitches

Over the past week I started, and finished, this shawl:


(being blocked)


It was very easy to knit and came together quickly. This "Tea in the Parlor Shawl" pattern is free from Lion Brand: 

http://www.lionbrand.com/patterns/L30133.html

Tuesday, December 10, 2013

This Week in Stitches 12.10.2013


Last night I finished the socks that I have been working on for the last few weeks.
These were knit using Premier Yarns Deborah Norville Collection Serenity Sock (color: violas).
I used the pattern on the wrapper (Basic Socks) but wouldn't recommend using that pattern if you haven't knit socks before. The pattern isn't written very well, and had I not knit socks before these would not have turned out.
Anyways, I love them and it's nice to have them done.
I've already started my next project - an eyelet shawl for my mother-in-law.

Sunday, November 10, 2013

Gluten-free Dairy-free Cream of Chicken Soup

Cream of chicken soup seems to be a pantry staple at our house during the winter months. With cold weather setting in I decided it was time to find a way to make a cream of chicken soup that my whole family - one without gluten or dairy. Here is what worked best for us.


Ingredients:

2 cups chicken broth + 1/2 cup (divided)

2 cups rice milk

1/2 tsp salt

1/2 tsp pepper

1/2 tsp parsley flakes

1/4 tsp garlic powder

1/4 tsp onion powder

6 TBSP corn starch

**************

1. In a large saucepan bring mix together the first 2 cups chicken broth, rice milk, salt, pepper, garlic powder, and onion powder. Bring to a boil, then reduce heat to maintain a very low boil.

2. In a separate dish whisk together the remaining 1/2 cup chicken broth and 6 TBSP corn starch.

3. Slowly pour the corn starch mixture into the broth mixture adding only a little at a time and whisking continuously. Watch carefully as it thickens, you may not need all of the corn starch.

4. Continue low boil while frequently whisking until the soup has thickened. It won't take long.

Remove from heat and let cool. 


I froze mine in quart size freezer bags, putting about 2 cups of soup in each bag. Use this for casseroles, roasts, pork chops - anything that would take canned cream of chicken soup.


Photobucket
Welcome Home Wednesdays

Tuesday, October 1, 2013

Dairy-free Biscuits

These biscuits are light and flaky. 

ingredients
·         3cups all-purpose flour
·         1tablespoon baking powder
·         1tablespoon sugar
·         1teaspoon salt
·         3/4teaspoon cream of tartar
·         ¾ cup coconut oil*
·         1 Cup Coconut Silk (Silk brand coconut milk)*


directions
1.Preheat oven to 450 degrees F. In a large bowl stir together the flour, baking powder, sugar, salt, and cream of tartar. Using a pastry cutter, cut in butter until mixture resembles coarse crumbs. Make a well in the center of the flour mixture. Add milk all at once. Stir just until moistened.

2.Turn dough out onto a lightly floured surface. Knead dough by folding and gently pressing dough for four to six strokes or just until dough holds together. Pat or lightly roll dough until 3/4 inch thick. Cut dough with a floured 2-1/2-inch biscuit cutter, or use a pizza cutter to cut into squares.

3.Place biscuits 1 inch apart on an ungreased baking sheet. Bake for 10 to 14 minutes or until golden. Remove biscuits from baking sheet and serve warm.
4.Makes 12 biscuits.


*You can also use Crisco and rice milk if you have a coconut allergy.

NOTE: It works very well to freeze shaped, uncooked biscuits. Put them on a cookie sheet lined with wax paper and freeze. Once they are frozen transfer to a Ziploc freezer bag. They can be cooked frozen, no need to thaw or adjust cook time. This way you can always have the exact number you need fresh from the oven.


Welcome Home Wednesdays

Saturday, August 10, 2013

Last Month in Stitches

Last month was a busy month, and I finished some nice projects. I really did mean to share them here earlier :-)

First, I finished the baby blanket marathon. Here are the last two:


These were done using a twisted knit stitch to really make the texture stand out.


I hope to post the pattern as well as a twisted knit stitch tutorial here soon.

I also finished my new favorite shawl:


The eyelet pattern was really fun to do. You can download the pattern HERE.

I've also been replacing my dishcloths, so I've made several of these lately:


I'm currently working on two other shawls, and hope to have some nice wool socks ready for fall too.

Thursday, June 20, 2013

Sweet and Spicy Pork and Chicken Rub

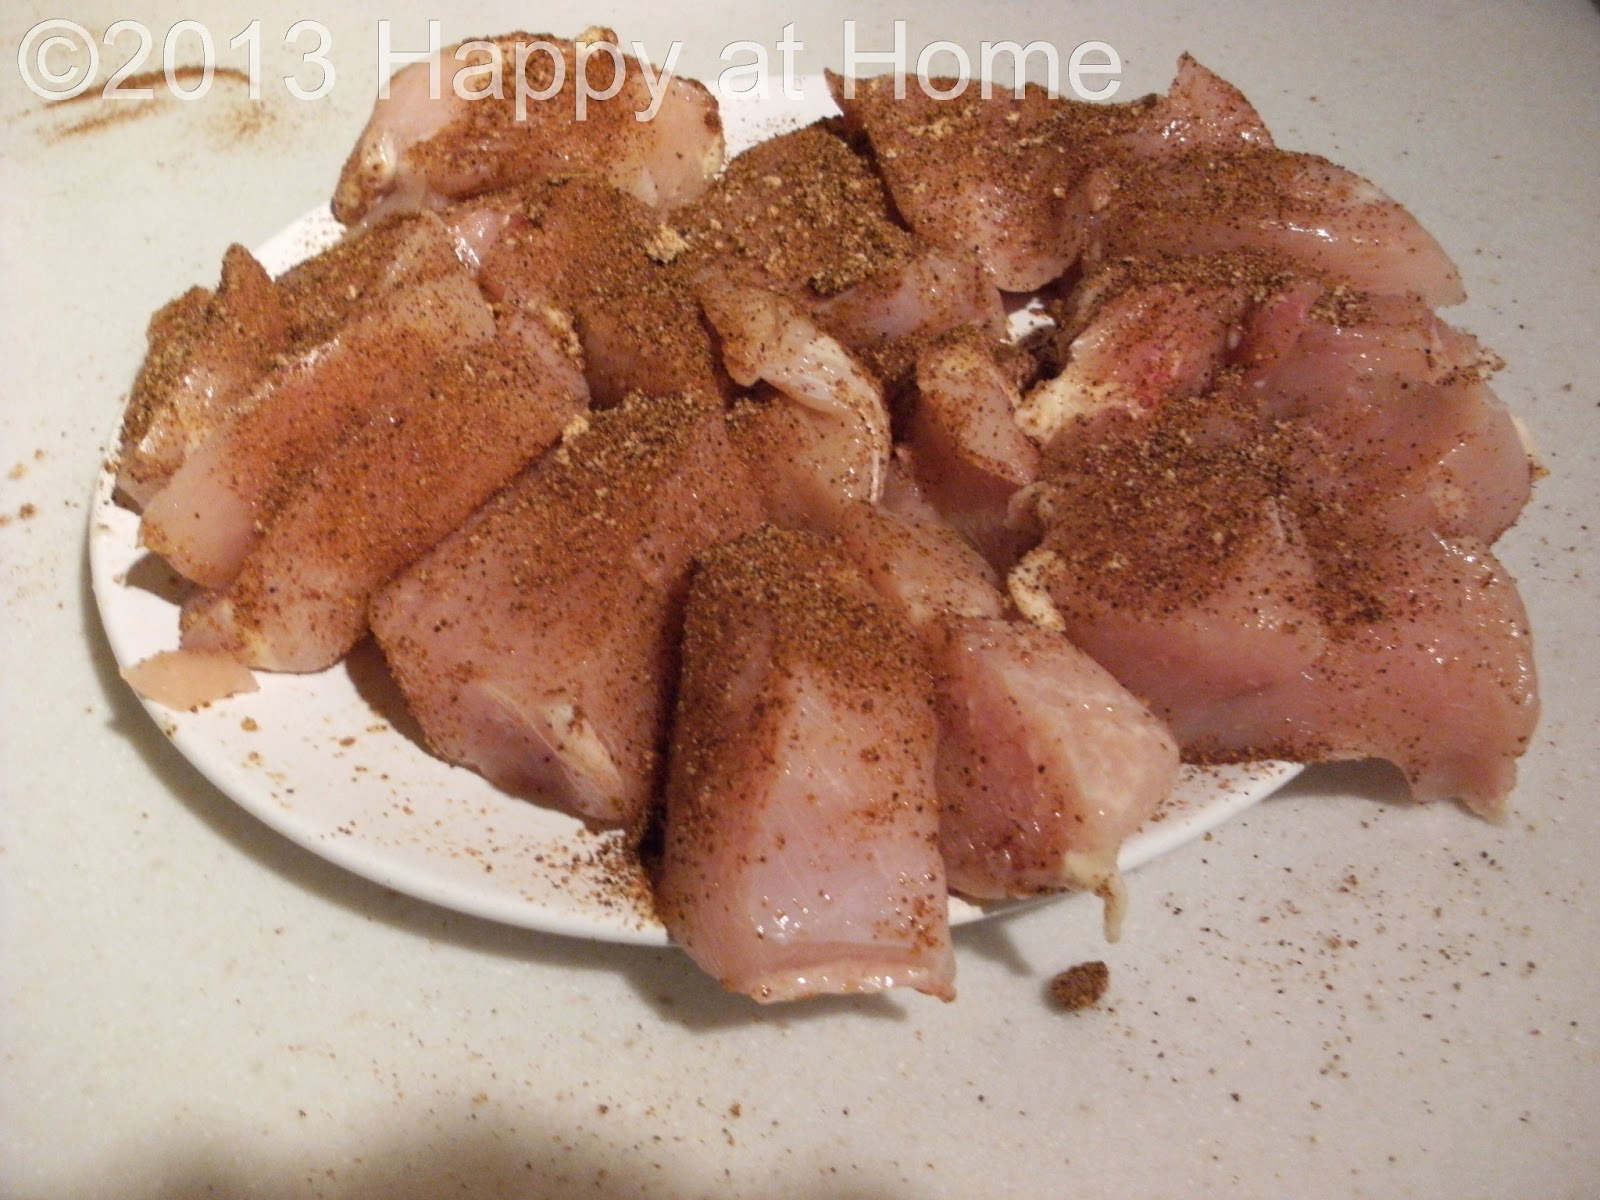
I received this recipe from a sweet friend (who doesn't have a blog or I would link to it) and just had to share it. It really is sweet and spicy, but is mild enough that my kids will eat it - I just use a little less on their meat.


Sweet & Spicy Pork Rub

This recipe makes a wonderful rub/marinade for pork or chicken. Rub this all over the meat, place it in a ziploc bag or glass dish, and allow to marinate for up to 24 hours. Then bake or grill the meat to an internal temp of 150 degrees for pork or 160 degrees for chicken. It's spicy and sweet with a lovely glazed finish. Enjoy!!


Ingredients:

1/2 c. dark brown sugar
1/4 c. sugar
2 tbsp. coarse black pepper
1 tbsp. coarse salt
1 tsp. ground ginger
2 tsp. garlic powder
2 tsp. onion powder
1/2 tsp. dry mustard
1/2 tsp. crushed red pepper flakes
1/2 tsp. cayenne pepper
1/2 tsp. ground cumin
1/2 tsp. paprika

Mix and use. No oils or liquids needed. The sugars will dissolve into a syrupy sauce when using it as a marinade.

Yields approximately 1 c. rub that can be stored in a sealed container indefinitely.


Welcome Home Wednesdays

Monday, June 3, 2013

Easy Crock Pot Mexican Chicken

Ingredients:

3-4 large boneless skinless chicken breasts

1 package of taco seasoning or 2-3 TBSP homemade taco seasoning

1 can of corn, drained

1 can of black beans, drained

1 jar of salsa or picante sauce

Coat the chicken breasts in taco seasoning. For potlucks I cut the chicken breasts into several pieces.


Mix all ingredients together in a bowl and then pour into crock pot.


Cook on high for 4 hours. Serve over rice.


This sounds like it would be really spicy, but it's not. It's mild enough that kids will eat it, especially if you use mild taco seasoning and mild salsa.


Welcome Home Wednesdays